Step by step guide to blog account creation

Hello my audience let's proceed on detailing the process involve in the creation of blog account.
You can see that it is very easy and simple to create and own a blog account. Let's go to step 4.
STEP 4 – Configure your WordPress blog
Once you have your admin account for WordPress all set up (the previous step), you can proceed to visit your new dashboard:
Just go to
yourdomain.com/wp-adminand input the access details for your admin account. Once you log in, you’ll see this: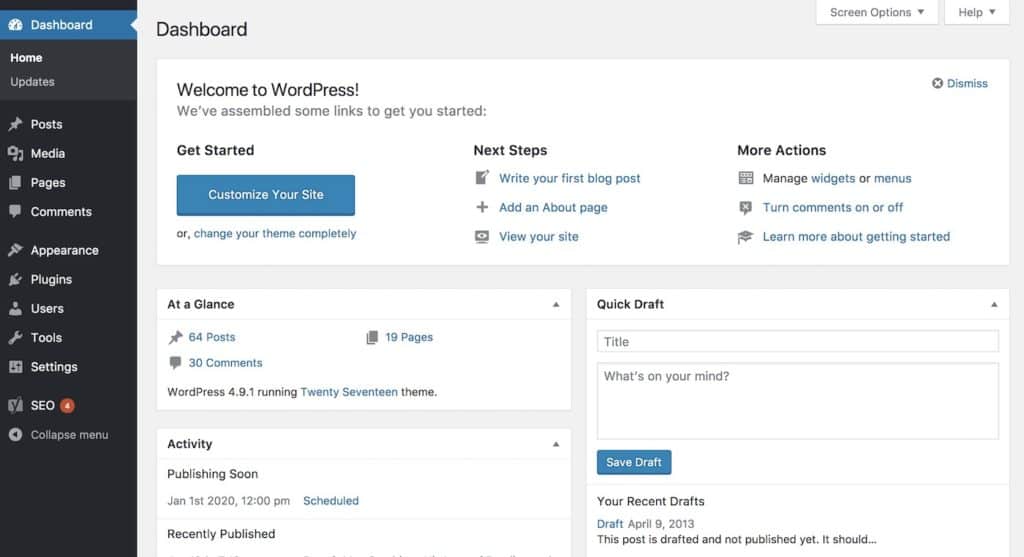
Even though WordPress is already 100% operational, there are still some settings that you should go through:
1. General Settings
Start by going to the left sidebar and clicking on Settings → General.
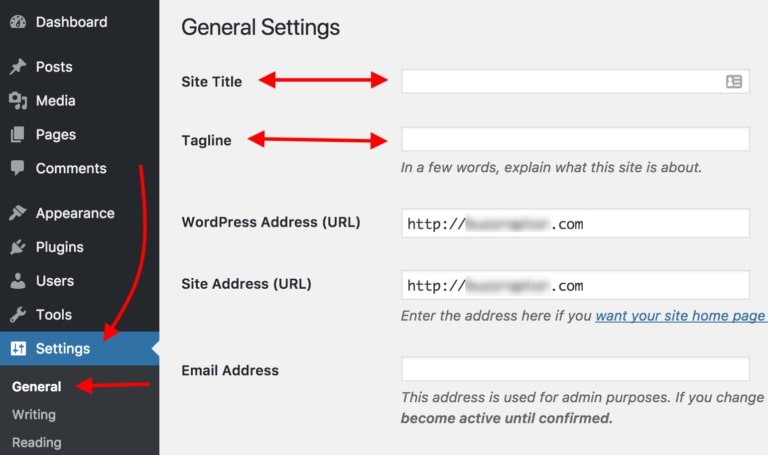
This is where you can set:
- “Site Title” – effectively the name of your site. The title is particularly important since it’s what every visitor sees first, and also a big part of how search engines determine your rankings. Make sure that you have your business name there.
- “Tagline” – think of it as the summary of what your blog is about, in one short sentence. For example: “Recipes that even a beginner cook can handle.”
In this section, you can also check if your blog address (URL) is in order, set the timezone you’re in and your preferred language.
Another important thing to note is that Bluehost has a Coming Soon feature in the last section of General Settings. Once you’re ready to go live with your blog make sure to turn this feature off.

2. Visibility in Google
The next, super-important thing that you must do is make sure that search engines such as Google can index your new blog.
To do that, go to Settings → Reading(again, from the main sidebar) and make sure that the field labeled “Discourage search engines from indexing this site”remains unchecked. Like so:
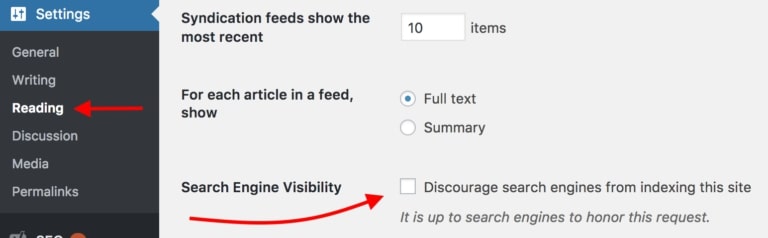
If you don’t do that, your blog might end up literally invisible to Google.
3. Permalinks
The “permalinks” settings define how WordPress will go about creating individual URLs – webpage addresses – for each of your individual blog posts or sub-pages. Though the idea might sound a bit advanced, setting this is very simple.
Just go to Settings → Permalinks. Once there, set your permalinks to the “Post name” variant, like so:
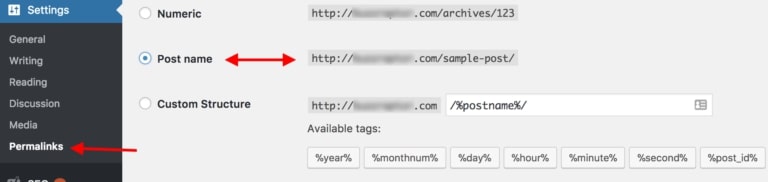
This is the most optimal setting of the ones available and also the one preferred by Google and other search engines.
STEP 5 – Design your blog by choosing a theme
Another great thing about WordPress is that even though you might not be a skilled designer yourself, you can still get a top-shelf look for your blog.
How? Thanks to thousands of WordPress themes that are available out there on the web. Best of all, many of them are free, and you can customize them easily (without any coding knowledge).
Go back to your WordPress dashboard and navigate to Appearance → Themes. Once there, click on “Add New”:
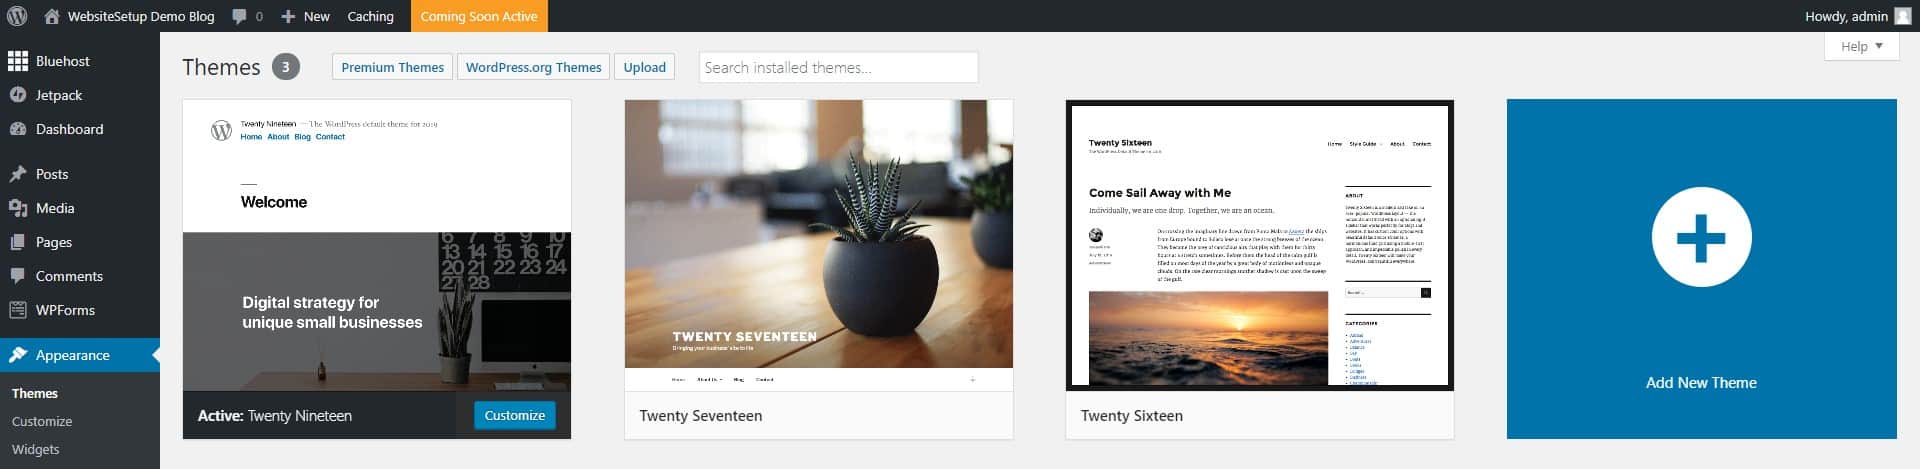
Then, switch the tab to “Popular”:
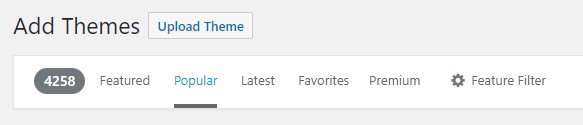
What you’re going to see are the most popular free WordPress themes in the market. And the best part is that you can install any of them with just one click.
Go ahead and spend a while browsing through this list to find something that really suits your business and the main purpose behind your new blog.
Once you do see a theme you like, you can get it installed onto your blog by clicking on “install” next to the theme’s name, followed by “activate”.
Note: What you’re doing here is just changing the look of your blog. You’re not erasing any of your content. You can change your themes as often as you want, without having to worry about your pages vanishing.
Comments
Post a Comment