Step to Step Guide To Creating Blog Account.

STEP 6 – Add logo, change colours and structure
Even though the WordPress theme that you’ve decided to use already comes with its specific pre-configured design, you can still change parts of it to your liking.
This is all done if you go to Appearance → Customize. What you’ll see is the WordPress Customizer:
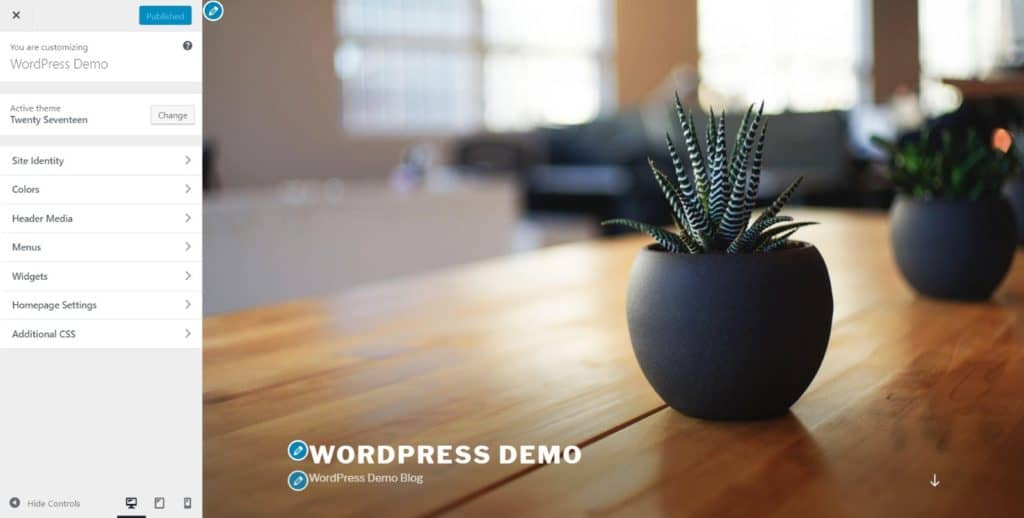
Depending on your current theme, you’ll get a different set of options in the sidebar menu, but the most common ones will include:
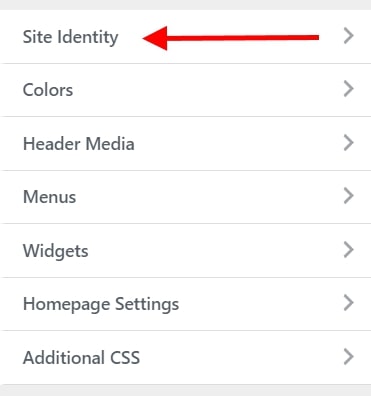
- “Site Identity” – this is where you can set your blog title again, plus add a logo image and a site icon (aka. favicon).
- “Colors” – for adjusting the basic colors used throughout the design.
- “Header” – for setting your header graphic or image.
- “Background” – for setting your background graphic, image, or color.
- “Menus” – more on this later on.
- “Widgets” – more on this later on as well.
- And other, theme-dependent settings.
Let’s start with the first option:
1. Add Logo And Favicon
- If you don’t have a logo yet, you can use these free tools to create one.
- If you don’t have a favicon yet, you can use these favicon generators.
Since you probably already have your site title and tagline set up, what you’re going to be doing here is adding your company logo and favicon. Both are quite easy to do:
To add your logo, just click on the “Select logo” button. On the next screen, WordPress will let you know what sort of graphics are acceptable for logos.
After uploading your logo, you should see it inside the live preview window.
To add your favicon, click on the button labeled “Select image” under the “Site Icon” section:
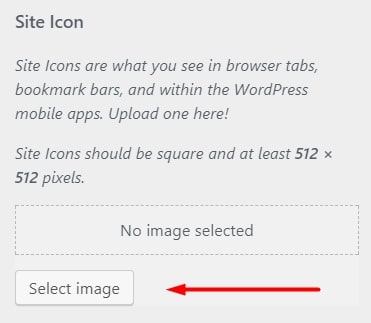
The process is quite similar here as well – WordPress will tell you what sort of an image it’s expecting. However, the thing that’s different here is that once you do add your favicon, it won’t actually get displayed anywhere in the preview. To see it, look at the main top bar of your web browser, next to the blog title. An example from this site:

2. Change Blog Colors
Depending on the theme you’re using, you will see a different set of options in this section of Customizer. Here’s an example from the default theme:
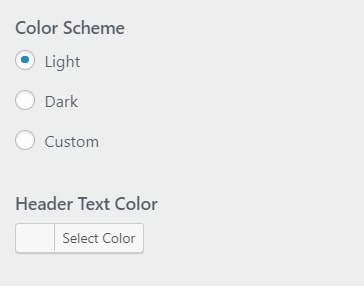
Just a couple of settings here, granted, but playing with these can still help you make your new blog look unique and more in tune with your brand.
3. Add Custom Header Graphic
This is another section that’s highly dependent on the theme that you’re using. Though, the most common setting that you’ll stumble upon is the ability to add a header graphic/image, or perhaps even a header video. To set your header image, just click on “Add new image”:
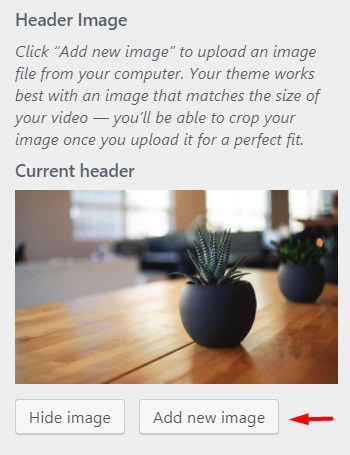
You can pick basically whatever image you wish for your site header, as long as it’s of sufficiently high quality. WordPress will let you know about the minimal requirements for your header image right on the upload screen.
4. Change Background
Some themes come with the ability to set the main background for your whole website.
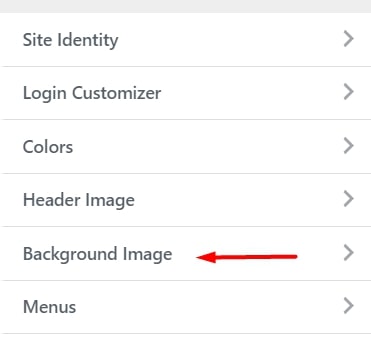
Most commonly, these options will allow you to set a custom image or a solid color to be in the background. Either way, you can get quite interesting effects if you experiment with this long enough.
STEP 7 – Add/Write new blog posts and pages
With all of the above already done, you’re ready to start creating content for your new blog.
If you are building a blog, you’ll likely need at least some of the following pages:
- Blog – this one section WordPress creates for you automatically. By default, all your latest blog posts are going to be listed right on the homepage.
- About – to tell your visitors what the blog is about and who’s behind it.
- Contact – to let people contact you directly.
- Services / Products – to list your products and/or services and tell people why they should buy them.
- Testimonials – from your previous customers.
- Portfolio – your body of work presented in an attractive way.
1. Create New Pages
Now that you have an idea of what sort of pages you might need, let’s talk about how to actually go about creating them.
Luckily, the process of creating a new page in WordPress is the same no matter what sort of page that is.
Before doing so, you can also set your blog to a maintenance mode, which will prevent others from seeing your unfinished website.
To do that, go to your WordPress dashboard and then to Pages → Add New. What you’ll see is the main page editing screen of WordPress:
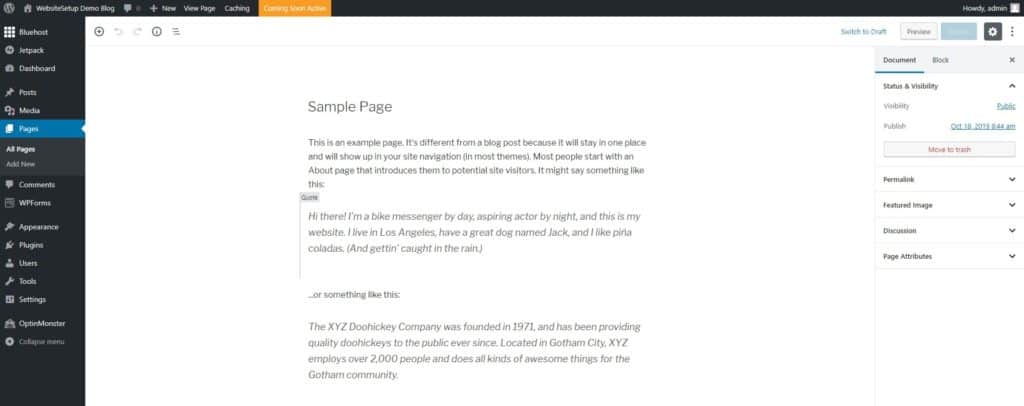
Here is a great overview of how adding posts and pages works on WordPress.
As you would imagine, once you click the “Publish” button, your page becomes visible to the public.
2. Add Blog Posts
The blog functionality is one of the core elements of the WordPress CMS. That’s why WordPress has a whole separate section devoted to creating and publishing blog posts.
You can find it if you go to Posts from the main WordPress dashboard sidebar:
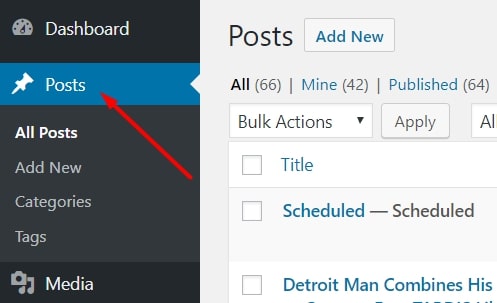
Creating new posts works exactly the same as creating new pages. The only difference is that your posts are going to be displayed automatically on your homepage, while your pages need to be added to a menu if you want anyone to find them.
3. Add Navigation Menu
Menus have a very special task in WordPress. Basically, they are your best tool for making sure that the pages you’ve created can be found by your readers.
Typically, your blog should have one main menu that’s placed in the main navigation bar. Most visitors will expect to find something like that on your site.
To create a new menu, go to Appearance → Menus. Once there, look through the list of the available pages (the pages you’ve created so far) and click the checkboxes next to the ones that you want to have in your new menu. Then, click on “Add to Menu”. You’ll see your pages listed in the section on the right.

At this stage, you can also drag-and-drop those pages to realign them. When you’re done, you can also select one of the checkboxes under “Display location” (see below). Most commonly, your main navigation location should be listed there – in our case, it’s “Top Menu”.
When we click on the main “Save Menu” button, my menu is going to be set.
4. Change Your Blog Sidebar and Footer
Depending on the theme that you’re using, you might have anywhere from zero to a handful of sidebars available + maybe a customizable footer as well.
To tune up what’s displayed in all those areas, we’re going to use WordPress widgets.
In simple terms, widgets are small blocks of content that can be displayed in various places throughout a WordPress blog.
To see what this is all about, just go to Appearance → Widgets.
What you see here are all the different widgets that WordPress gives you. Just to name a few:
- Archives – a list of all your past blog posts
- Image – an image of your choice
- Categories – a list of all your blog categories
- Recent Posts
- Search – a search bar
- Text – a piece of custom text
- and a lot more
What you can do with all those widgets is place them in one of the predefined widget areas – usually within the sidebar or the footer.
For example, we can drag-and-drop the “Recent Posts” widget to our “Footer 1” widget area, like so:
You can do the same with any of the other available widgets. Just grab them from the section on the left and drag-and-drop them onto any of the widget areas that your theme gives you.
Note: The widget areas that you see in your admin panel depend on the theme that you’re currently using.
Launch your blog and keep improving
Congratulations. You can now launch your new blog!
Wasn’t so difficult, was it?
Keep in mind that every blog you create with WordPress is different. You can always change WordPress themes or even buy premium ones to really make your blog look professional and unique.
Here are some further guides that should help to kick-off your blogging journ

Comments
Post a Comment